
15 cello tips for beginners
By
 Last updated
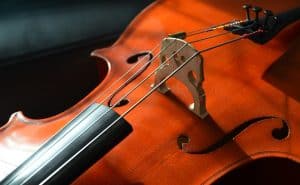
 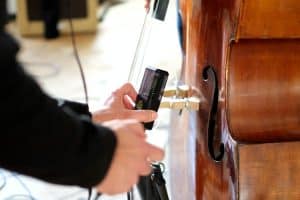 The first thing you need to do before you practise is tune your cello.
Because a cello doesn’t have frets like a guitar, the accuracy of the pitch of your notes depends on two things, your finger placement and whether the string is in tune.
By keeping the cello in tune you’ll ensure that the finger placement you’re learning for each note is accurate and won’t need to be unlearned later.
 Before you practise, put your phone and any other devices such as tablets and smart watches on silent. The best practise sessions are ones where you enter into a flow state, where you’re totally focused on the moment and learning is maximised. This cannot happen with constant interruptions.
As well as removing digital distractions, clear your practice area of any clutter that can distract you. Lastly, make sure to have everything you may need in the session as stopping to get it later on will break your practise momentum.
 The scheduling your practice sessions should coincide with the times of day when you have the most energy and ability to focus.
If you’re a morning person, it’s a good idea to schedule your practice in the morning. If you’re a night-owl, the opposite will work better for you.
 Just like any other physical activity, playing the cello takes a toll on your muscles. This means that warm-up prior to practise or performance is just as important as your warm up prior to other types of physical exercise.
For beginners warming up is doubly important because your muscles are not accustomed to the demands they’ll be placed under. By warming up, you’ll minimise the stiffness and aches experienced as your body gets used to the new stretches, positions and strength required to play the cello.

Rosin is tree resin which is applied to the cello bow to produce the right amount of friction between the bow and the strings, creating the right sound.
Too much will produce a scratchy tone while too little will result in not enough friction, limiting the amount of sound your cello will produce. Aim for somewhere in between.
Here’s a good article for further reading on rosin.
 Practising scales is not only a good warm-up, it is also excellent for getting to know key signatures and locking in the muscle memory needed to move quickly across common note progressions.
And if that’s not enough, scales are also a great exercise for perfecting bow placement.
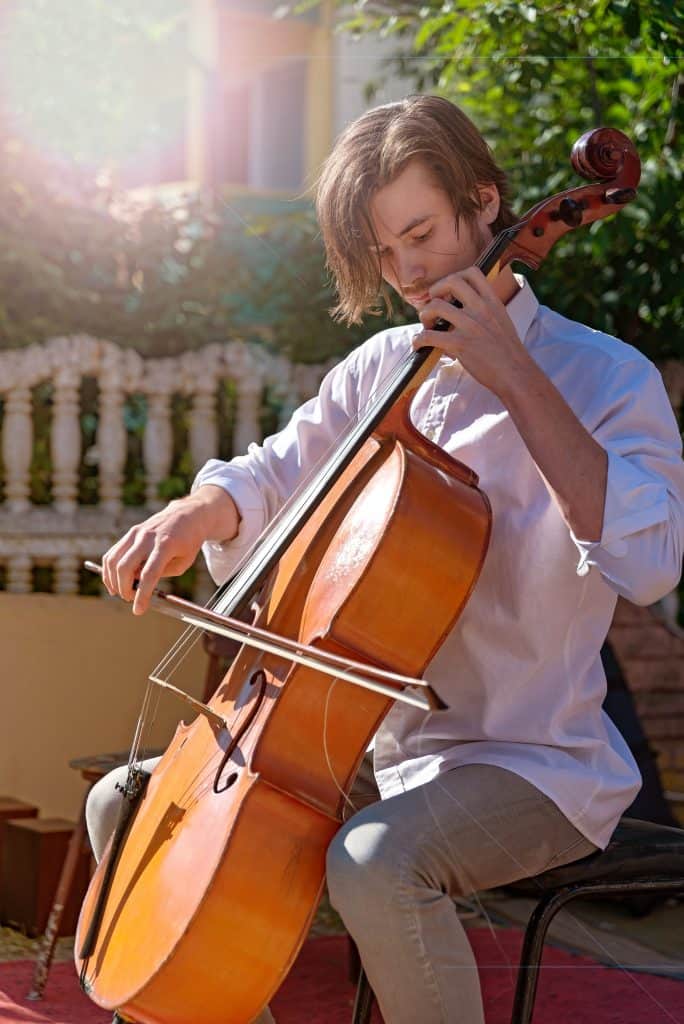
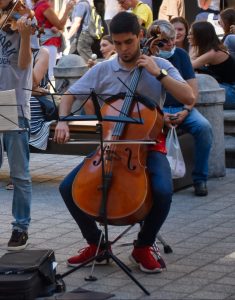 One of the best accessories you can buy for your cello is an endpin stopper to prevent your cello from slipping while playing.
This photo is not up to our usual standard (it’s a little blurry) but we’ve included it because it shows an endpin stopper in use by a busker which helpful to see.
Without an endpin stopper your cello will slide out from under you, making performance next to impossible.
 If you encounter a problem while practising, don’t just push forward and ignore the issue. Instead, repeat the troublesome section until you solve the problem you encountered.
Moving forward without mastering the tricky section will only cause you to learn bad habits which become harder to unlearn down the track.
 When it comes to planning your practise sessions, studies have shown that little and often beats longer and less frequent.
This means practising for 30 minutes five days a week makes for better progress than cramming everything into a couple of two hour marathons on the weekend.
 As mentioned already, you should always problem solve as you practise. One of the best ways to do this is to record your sessions and listen back afterwards.
If it seems too much to record and listen to the whole session, consider recording a final performance at the end of the session instead.
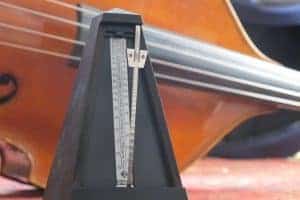 Practising with a metronome is a top tip for beginners of any instrument. Metronomes help you to develop your timing, which is critical to playing with other musicians.
Owning a real metronome is a good idea, but not essential as you can always use our free online metronome from your mobile or any other device.
 Staring at your fingers while performing gives an impression that you’re not sure of yourself.
While it’s necessary to look at your hands when mastering new skills, aim to train yourself as early as possible to avoid staring at your fingers once new pieces become more familiar.
 Music is meant to be heard, this is why performing in front of an audience should be part of every musician’s practise.
Not only does performing in public help to improve your technique by making you pay closer attention to your sound, it also builds confidence.

An important practise technique is to break down a piece into smaller, more manageable sections.
Doing this enables you to stop after a mistake and start that small section again, rather than restarting all the way back at the beginning and wasting practise time getting back to the problematic part.
Once you’ve mastered each section you can string it all together again and play start to finish.
 Once you mastered your piece, try practising it without looking at the sheet music.
This will help you to internalise and memorise the music instead of always reading it off the page.
In this way, you’ll learn the piece from a different, deeper, point of view. The patterns in the music will become more obvious and your attention will shift to the subtleties of the sound and performance rather than the technicalities of just reading and playing.